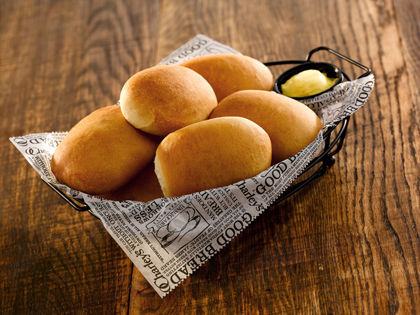
 This Moron Test Kitchen is brought to you by Rachel. I told her I’d try to make anything she wanted, and she LOVES the rolls at O’Charley’s. Surprisingly enough, they don’t actually post their recipe on their website. So I googled it and came across this random recipe CLAIMING to be what I was looking for.
We’ll see.
 Here’s the cast of characters. Pretty average stuff.
Mix 1/2 cup Crisco oil, 1/2 cup boiling water, 1 teaspoon salt, and 1/3 cup sugar. I called both my husband and my mother and asked “Do they mean Crisco OIL, or Crisco SHORTENING?” Tbey agreed- shortening. I’m not so sure, because mixing it was impossible.
Next dissolve 1 package of dry yeast into a 1/2 cup of lukewarm water. Mix and pour into the oil mixture. Now beat one egg and pour it into the mixture.
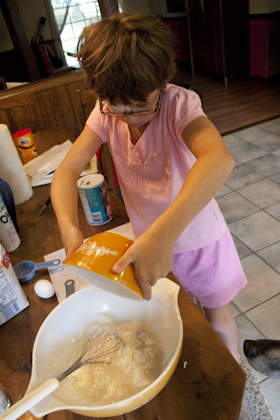
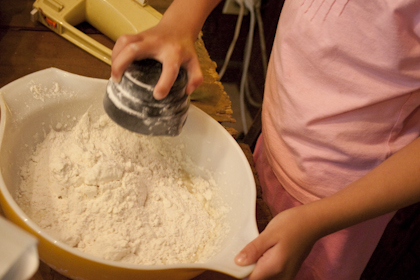
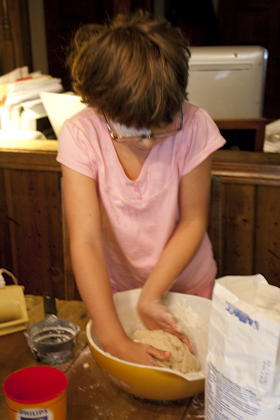
Add 3 cups of all purpose flour. So far Rachel’s comments have been, “gross”, “this stinks” and “do I have to touch it”.
Yes, yes you do.
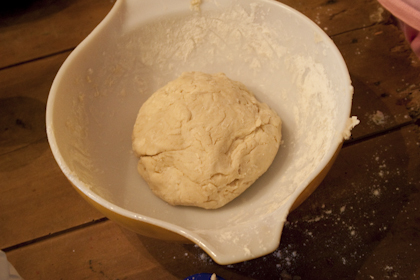
Form into a ball. Lightly flour and let sit for 2 hours. It didn’t SAY this, but I saw some other recipes that say to cover and put in a warm place. So we did.
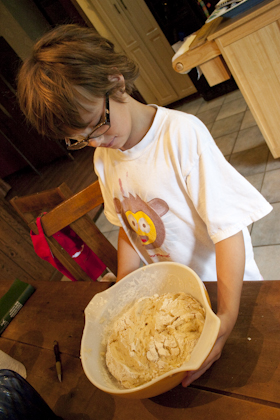
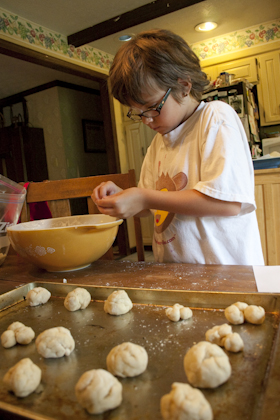
Hey! It actually got bigger. Shake the bowl so the ball drops down in size a bit. Then pinch off a piece, roll it into a ball, and place on a greased baking sheet.
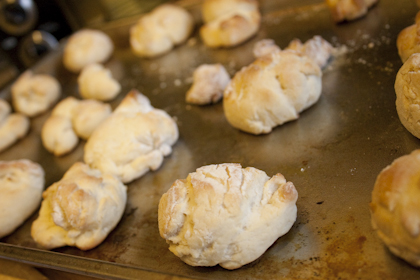
We made regular balls, and for fun, a few made up of 3 little balls, for the puffy, cloverleaf look. The recipe says to let them sit ANOTHER 2 hours. Seriously? We gave them an hour. I couldn’t see that anything was changing and since I didn’t want to spend my ENTIRE day watching dough, we threw them in the oven. 15 minutes at 400 degrees.
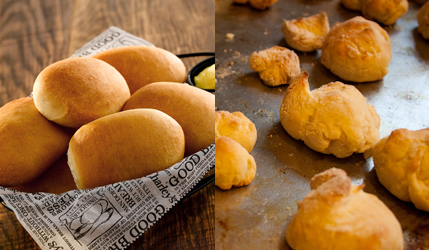 As Rachel put it, “We made BISCUITS’. And not very good ones. Moron Test Grade – F! I thought about giving it a D, since they were EDIBLE, but the disappointment factor swayed me. It’s like following a recipe for carrot cake and getting a carrot. Same family, not quite the same flavor.
Feel free to let me know where I went wrong. I’m guessing it was the part where I went into the kitchen.
*NOW my mother says that if it says OIL, you should use OIL. “They look a little dry.”


Take a class in cooking
Wasn’t I supposed to learn some of this from YOU?
Your pictures shows rapid rise yeast, which has to be used differently than regular yeast. Check out breadworld.com to see the differences. I learned this because my first batch were smaller than yours and ended up being a dough ball.
Here is some helpful info for you. The difference between rapid rise yeast and active dry yeast is the rise times. When you use rapid rise yeast you only have to let your dough rise once. When you use active dry yeast (which I recommend) you let it rise twice. Techniqually 3times if you cant the finally rise when you have your rolls/bread shaped.
So with rapid rise yeast, let your dough sit until doubled. Then need out all the air from the rising. Form into your disired shape and let rise again until doubled. That is where you when wrong with your rolls. You should have let them rise again.
If you were using active dry yeast you would let your dough rise roughly 2hrs until doubled. Knead out all the air. Let it rise until doubled again. Knead out all the air. Form into your desired shape, then let rise until doubled again and bake. Active dry yeast gives you a more yeasty flavor. To me it makes the breads taste better.
Also when you dissolve your yeast in warm water make sure it is between 105 – 115 degrees. If your water is too hot it will kill the yeast and cause you to have flat bread.
And my final helpful tip is that when you are kneading your bread and want to know if it has been kneaded enough. Pinch of a small piece and try to slowly stretch it out until it tears. It’s called the window pane test. You want to be able to vaguely see through the dough before it tears. Kind of like looking through a foggy window. Thats when you will know that your dough is kneaded enough and your gluten strands are devolped enough 😀
I hope this helps you out a bit!
You didn’t mix it enough for sure, the only way to get proper rise and texture is to knead a dough very very well till it can pass a windowpane test. Also when you shape the rolls they need a tight skin in order to rise and not be dense. This helps hold in the gas when rising.
Definitely though the huge mistake was just mixing the dough and letting it rise. It also looks like the dough isn’t wet enough. A dry dough means dense rolls, and that means no good to me. Try my tips and maybe you can get a good roll out of your kitchen. The kneading part is the key though and easy with a Kitchen Aid mixer.
Yeah, the problem with this recipe is that you probably killed the yeast and did zero kneading. After you knead the dough make sure that you create a good tight skin around the ball of dough. Just pull the dough to the bottom and from a nice ball and let it rise. This helps keep the gas inside the dough and promotes a good rise.
Same thing when forming the rolls too. I noticed that you had cracks in the rolls that lead to uneven rising at room temp and in the oven, and never achieve that smooth look of an O’Charley’s roll. Also I am fairly sure that the shortening should be oil, that may be part of the problem behind the dough being so stiff. At room temp shortening will never melt and lead to a drier end product. Oil will lube the gluten more evenly and promote better rising.
Why did you say that the dough had a bad smell? What was the smell like? Was the flour bad or something? That could have been the reason for the poor results.